


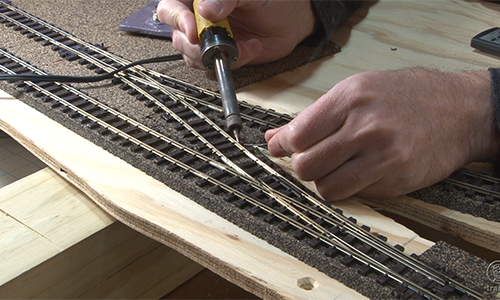
In the first lesson, expert instructor David Popp gets things rolling with the basics of kit building. He‘ll primarily use a boxcar kit for reference, but you’ll also gain additional insights by working on a gondola kit in future lessons. Class begins by covering the necessary tools, including a hobby knife, sanding sticks, a small Phillips-head screwdriver, sprue cutters, and microbrushes. David also discuss essential supplies like plastic bonding glue and spray paint/primer.
The lesson provides step-by-step instructions on a number of tasks. You’ll learn how to clean the oily, stamped steel weight that comes with the kit using isopropyl alcohol. David also demonstrates how to remove plastic nubs and flash from the underframe and doors using a hobby knife and sprue cutters. Finally, you’ll learn how to assemble the brake assembly, coupler, and trucks, including a proven pro tip on how to ensure one truck has side-to-side play for reliable operation on uneven track!
For model railroaders of varying skills and any scale, class is now in session — streaming exclusively on Trains.com Video!

Great series I most recently got a roundhouse miniatures n scale gondola kit it did not come with trucks so I had to install my own I’m using some Bachmann Ez mate trucks that I got they run smoothly and the wheels are all metal no fiddling around with plastic wheels or a car that is uneven everything runs smoothly. Can’t wait for the gon lesson. Keep them coming David!
Great series, David. Being an old-timer, I find it helpful to refresh my knowledge every once in a while. I just don’t think that 6 episodes will be enough. Looking forward to many more.
I don’t know what the kit instructions say, but what you call the “A-B valve” is actually the brake cylinder. It contains the piston that moves the brake rigging to apply the brakes.
The A-B valve is a term for the control valve. The A-B part comes from the fact that the valve has two parts. The A part is for service braking, which is the normal part used for regular braking. The B part is for emergency braking. This is used if the train needs to be stopped very quickly or if the is a rupture in the brake line such as happens when the cars seperate because of a coupler problem or an air hose bursts.
The air reseviour is actually two chambers. There is a diaphram in the reseviour to seperate these. The diaphram is bulged so that the emergency reseviour, connected to the B portion of the valve, has twice the volume of the service reseviour, connected to the A portion.
One truism for car building or purchasing is that you get more reliable operation if all couplers are the same brand. So you could note that couplers can easily be swapped by unscrewing the coupler box top, removing the old coupler and simply replacing with the new, which should fit easily.
I wish manufactures would sell kits for their detailed RTR offerings. I started in the hobby about 60 years ago with my dad. We had so much fun putting them together and then watching them run. I still buy some Accurail kits and have tried a few Scaletrains, however if you want detail you need to find aftermarket parts to do the job.
I remember buying my first RTR car at Red Board hobby with my young son. I remember the owner Paul telling me, that is the future for model trains. I seldom buy any of the new very detailed RTR cars anymore because to make a unit train cost wise is out of my ballpark.
Thanks much
Everyone with Trains.com are awesome people!